How to modify Ghost themes
 Ghost website, ghost.org, is an open source publishing platform. In the same genre of Wordpress or Drupal this website builder allows people without coding skills to create a website that is dynamic. Today I am going to talk about a problem that is not throughly discussed in the Ghost forums or other resources. I had to mix and match multiple sources of information to find the solution. I am going to place all the resources here and go step by step for creating your own local ghost development server.
I was using the default theme for Ghost, which is called casper. I wanted to remove a few features from casper template but keep the theme. In Wordpress files you can usually do this through ftp, like Filezilla, see ftp set-up here, content management, or sometimes the theme itself. In Ghost I could not just copy the files using ftp and replace them. My solution was to create a local host for the ghost platform and make the changes and updates via notepad++ test them on the local host. Then I zipped the new theme to the website server on the live website and all the changes took place as I needed them to. I'm going to go step by step here to help you in making this work.
Use the command prompt that your folder is in for the development server. More on that below.
Prepare for installing Ghost locally
Go to node.js and install it.
Go to Yarn and install it.
Open up a folder you want to place Ghost into on your Documents folder. Then create a new folder. In my case the directory looks like this C:\Users\Paul\Documents\Compass Programming\clients\Friends of Gandy Dancer\ghost\development. The development folder is completely empty at this point.
Install Ghost Locally
Now go to Ghost local.
Open your command prompt on your computer. You don't need the command prompt(Admin). The Command Prompt can be found typically by right click mouse on the Windows icon in the lower right corner of your computer.
Since you installed Yarn not npm type in 'yarn install ghost-cli@latest -g'.
Now you go to that empty directory by typing in 'cd Documents\Compass Programming\clients\Friends of Gandy Dancer\ghost\development'. Notice in the example picture the C:\Users\Paul directory is what I am already in so I just need to add the rest of the location to after the cd, change directory, command. Notice that if there are spaces in your directory name keep them when typing in the directory name.
Once you are at the directory type in 'ghost install local'. It will start installation wait until it finishes and if it doesn't come up with a message of the url of the local host than go to the next step.
In the same directory type in 'ghost start' this will result in a url location and the nodejs will open up a box. This step will be required everytime you want to start up the Ghost localhost again so it pays to copy down the directory into a convenient location. The Ghost commands are on the same page as the install information.
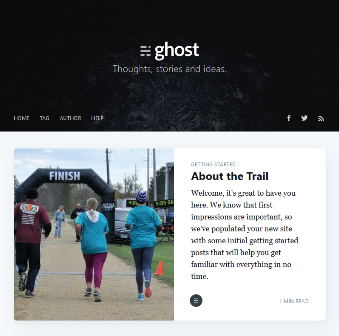
Ghost loaded
Add an email address and password for the account.
Once confirmed you can enter your new website on your local server.
Go to your directory that Ghost is uploaded into you will see the default theme 'casper' in the content->themes folder. Copy 'casper' rename the copy to whatever you want. In my example I renamed it 'casperV2'.
Go to the 'Design' tab on your test site and 'Upload a theme' and upload your renamed casper theme. Any changes you make to the content in your folder will immediately appear on the localhost development website.
Ready to go to Production
Once you are happy with your changes to the template you can save the theme folder, create a zip file of it and upload it to your live website.
The only thing that transfers over to the live website is the theme template. if you added posts, images, any content in the development website they will not transfer to the live website.
Last updated: 31 January 2019

